For optimal security and aesthetic appeal in outdoor fake camera installations, mount cameras at 1-2 meters (3-6 feet) above eye level for residential areas or between 5-10 feet (1.5-3 meters) for homes, aligning with local privacy laws. Securely attach to sturdy surfaces like walls or poles, use weatherproof cables, and follow structured wiring guidelines. Conduct thorough final checks, testing functionality, view obstructions, video/audio quality, and trigger responsiveness before operation.
“Install a mock surveillance system and fool even the most vigilant of intruders with our comprehensive guide. Learn the art of strategic placement, starting with understanding optimal outdoor fake camera locations and ideal installation heights for maximum realism. Explore various mounting options to achieve lifelike positions.
Dive into the technical aspects with our wiring and connection setup instructions. Conclude with thorough final checks and testing procedures, ensuring your mock system is as effective as it is convincing.”
- Understanding Outdoor Fake Camera Placement
- Measuring Ideal Camera Installation Height
- Mounting Options for Realistic Placement
- Wiring and Connection Setup Guide
- Final Checks and System Testing Procedures
Understanding Outdoor Fake Camera Placement
When planning an outdoor fake camera installation, understanding the optimal placement height is crucial for both effectiveness and aesthetic appeal. Typically, placing the mock surveillance camera at eye level or slightly elevated is recommended to mimic real security equipment. This positioning ensures a realistic appearance while also offering a clear line of sight, enhancing the system’s deterrent effect.
Eye-level or slightly higher placements are ideal as they align with human perception, making it easier for potential intruders to feel observed. Ensure the camera is securely mounted on sturdy surfaces like walls or poles, considering local weather conditions and environmental factors. Proper positioning not only boosts security but also contributes to a well-designed landscape, blending seamlessly into the surrounding environment.
Measuring Ideal Camera Installation Height
When planning an outdoor fake camera installation, one of the critical factors to consider is the ideal height for your cameras. The recommended placement for security cameras is approximately 1-2 meters (3-6 feet) above eye level. This angle ensures a clear and unobstructed view, capturing crucial details without compromising privacy. By mounting the camera at this height, you can effectively deter potential intruders while ensuring optimal visibility.
Measuring from the ground to the camera’s lens, this height provides a balanced perspective, allowing for wide-angle coverage without distorting images. It’s essential to assess the specific location and environment to determine the most suitable installation height, especially in diverse landscapes where trees, structures, or other obstacles might influence the camera’s field of view.
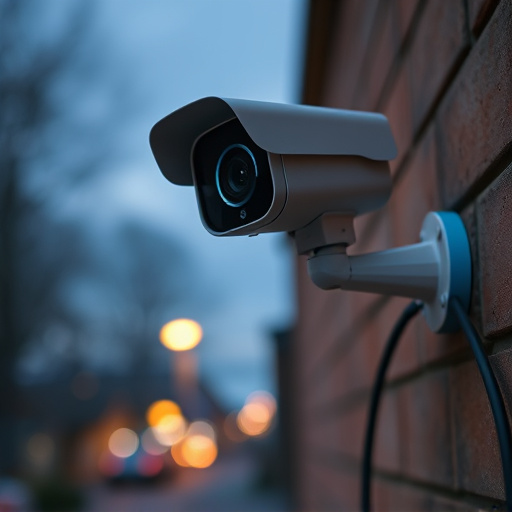
Mounting Options for Realistic Placement
When planning an outdoor fake camera installation, choosing the right height is crucial for realism and effectiveness. For residential properties, positioning your mock surveillance cameras between 5 to 10 feet (1.5 to 3 meters) above ground level is recommended. This range ensures a clear line of sight while remaining relatively unobtrusive.
Consider various mounting options for a natural look. Wall mounts are popular choices, allowing you to secure the cameras to existing structures like fences, garage doors, or sides of buildings. Pole mounts can also be used in open areas, providing adjustable heights that mimic real camera placements. Ensure the chosen mounting option aligns with the outdoor fake camera installation height guidelines for optimal visual impact and security simulation.
Wiring and Connection Setup Guide
When setting up an outdoor fake camera installation, one of the critical aspects is ensuring proper wiring and connections. Start by identifying suitable locations for your mock surveillance cameras, considering factors like outdoor fake camera installation height to mimic real-world placements. Use weatherproof cables and connectors to guarantee longevity in various environmental conditions.
Follow a structured approach: mark the paths for cables, drill holes if necessary, and secure the wiring. Connect each camera to a central control unit or recorder using standardized video transmission cables. Verify all connections are tight and secure to prevent interference or signal loss. Ensure power is supplied through reliable sources like solar panels or battery packs, depending on your setup’s requirements.
Final Checks and System Testing Procedures
After completing the physical installation, it’s time for final checks and thorough system testing. Verify that all components are securely attached and functioning optimally. Double-check the outdoor fake camera installation height to ensure it aligns with your security requirements and complies with local regulations regarding privacy and line of sight. Ensure each camera offers a clear view without obstructions, capturing high-quality footage.
Conduct a comprehensive system test by simulating real-world scenarios. Check the video feed quality, audio clarity, and overall performance under different lighting conditions. Test the system’s responsiveness to triggers, motion detection accuracy, and the reliability of alerts or notifications. This step is crucial to identify and rectify any issues before deploying the mock surveillance system into operation.
Mocking a surveillance system effectively requires strategic placement of fake cameras. By understanding outdoor camera positioning, measuring ideal installation height, and selecting realistic mounting options, you enhance the system’s authenticity. Proper wiring connections and final checks ensure optimal performance. With these steps, your mock surveillance setup will serve its purpose seamlessly, providing a convincing visual deterrent for potential intruders.